Safelayout Cute Preloader Pro Documentation
Installation
Plugin Requirements
- WordPress 4.7 or higher
- PHP 5.0 or higher
Install Safelayout Cute Preloader Pro
- Go to the Plugins section of your WordPress dashboard.
- Click on Add New.
- Click on the Upload Plugin button.
- Browse and locate the zipped plugin that you have downloaded.
- Activate the plugin by clicking on Activate.
- Use the Settings -> Safelayout Preloader Pro to configure the plugin.
- Choose your style and enjoy.
Display settings
To change Display settings, go to the Settings section of your WordPress dashboard, select Safelayout Preloader Pro and click on the Display tab.
In this tab you can change the following settings:
Enable Preloader: You can choose to turn on/off preloader on your WordPress website.
Display on: specifies where to display the preloader, only on the home page or on other pages of your website.
Exclude page/post: Specifies pages/posts to exclude the preloader on them.
Show per session: Enable the preloader to be displayed only when a visitor visits your site for the first time.
Device: Enable to display preloader on all devices, mobile, or desktop only.

Minimum load time: The minimum time that, the preloader will be shown, even if the page was loaded. (Enter 0 to disable this feature)
Maximum load time: After this time the preloader will be hidden even if the page has not been loaded yet. (Enter 0 to disable this feature)
Show close button after: After this time the close button will be shown at the top right corner of the screen. (Enter 0 to disable this feature)
Disable scrolling: You can use this option to disable page scrolling while loading.

Background settings
To change Background settings, go to the Settings section of your WordPress dashboard, select Safelayout Preloader Pro and click on the Background tab.
In this tab you can change Background Exit, opacity, small background, color, Background pattern and Background animation.
The Background color can be solid color or gradient color. There are 431 Gradient colors for icon, progress bar and background.


Progress Bar settings
To change Progress Bar settings, go to the Settings section of your WordPress dashboard, select Safelayout Preloader Pro and click on the Progress Bar tab.
In this tab you can change Bar Shape, Light move effect, Bar color, position, width, height, border radius, border color, margin top, margin bottom and margin left.
The Bar color can be solid color or gradient color. There are 431 Gradient colors for icon, progress bar and background.

Brand Image settings
You can display your Brand image or logo inside the preloader screen.
To change Brand Image settings, go to the Settings section of your WordPress dashboard, select Safelayout Preloader Pro and click on the Brand Image tab.
In this tab you can change Image URL , Image animation, Image position, margin top and margin bottom.
You can also use a base64 encoded image as an Image URL.

Icon settings
To change icon settings, go to the Settings section of your WordPress dashboard, select Safelayout Preloader Pro and click on the icon tab.
There are 48 Loading animation icons. You can choice one of them, add your own loader image or add the HTML code of your loader animation, such as the Lottie animation.
You can also use a base64 encoded image as an Image URL.
In the rest of this page you can change icon size, color and effect as well.
The icon color can be solid color or gradient color. There are 431 Gradient colors for icon, progress bar and background.
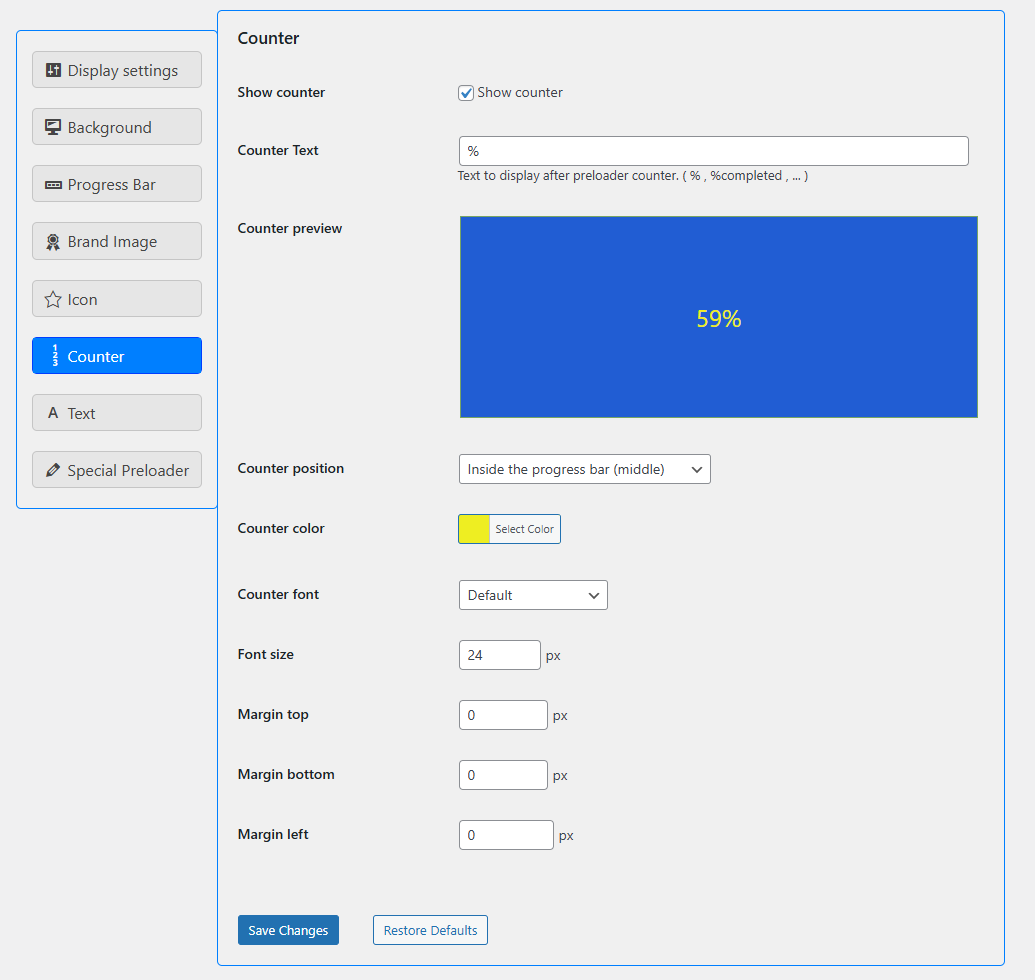
Counter settings
To change Counter settings, go to the Settings section of your WordPress dashboard, select Safelayout Preloader Pro and click on the Counter tab.
In this tab you can change Counter text, position, color, font name, font size, margin top, margin bottom and margin left.
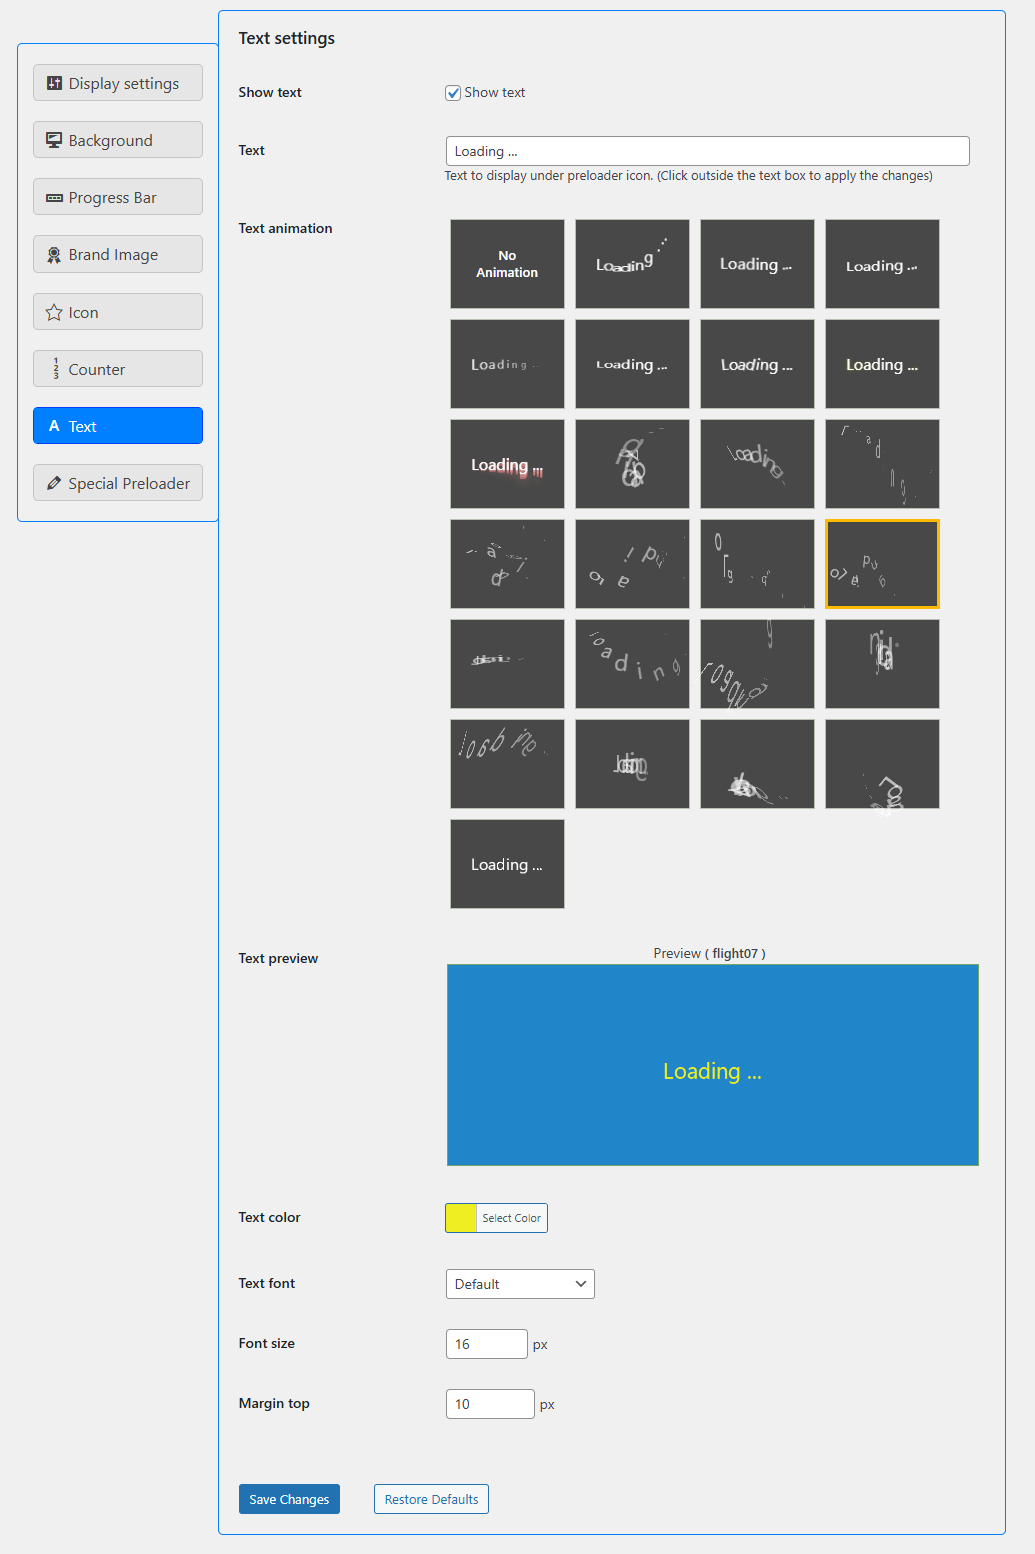
Text settings
To change Text settings, go to the Settings section of your WordPress dashboard, select Safelayout Preloader Pro and click on the Text tab.
In this tab you can change text, text animation, Text color, font name, font size and margin top.
Special preloader
With this feature, you can have more than one preloader on your site. You can add different preloader to different pages of your site.

How to set preloaders for different data types.
You can set preloaders for different data types, for example a different preloader for products or a different preloader for elementor landing page.
To set a different preloaders for different data types, follow the steps below.
1. Go to the Settings section of your WordPress dashboard, select Safelayout Preloader Pro and change the settings according to the new preloader you want.
Note: Do not click the “Save Changes” button after applying the changes, otherwise the new preloader will overwrite the original preloader of your site.
2. Go to the “Special Preloader” tab and select the type you want, from the list displayed at the bottom of the page and click the “Set the current preloader settings for the selected type” button.
* To remove the preloader from a data type, click on the “Remove preloader from this type” button next to that type.
How to set a different preloader for mobile visitors of your WordPress website.
To set a different preloader for mobile visitors, follow the steps below.
1. Go to the Settings section of your WordPress dashboard, select Safelayout Preloader Pro and change the settings according to the new preloader you want.
Note: Do not click the “Save Changes” button after applying the changes, otherwise the new preloader will overwrite the original preloader of your site.
2. Go to the “Special Preloader” tab and select mobile from the list displayed at the bottom of the page and click the “Set the current preloader settings for the selected type” button.
* To remove the mobile preloader, click on the “Remove preloader from this type” button next to “Type: mobile“.
* If you are using caching plugins like “LiteSpeed Cache” or “WP Rocket“, you need to enable “Separate cache files for mobile devices” in the cache plugin settings.
How to add different preloaders to different page/post of your site.
To add different preloaders to different page/post of your site, follow the steps below.
1. Go to the Settings section of your WordPress dashboard, select Safelayout Preloader Pro and click on the “Special Preloader” tab.
2. Click the “Show preloader meta box” button.
3. Now change the settings according to the new preloader you want.
Note: Do not click the “Save Changes” button after applying the changes, otherwise the new preloader will overwrite the original preloader of your site.
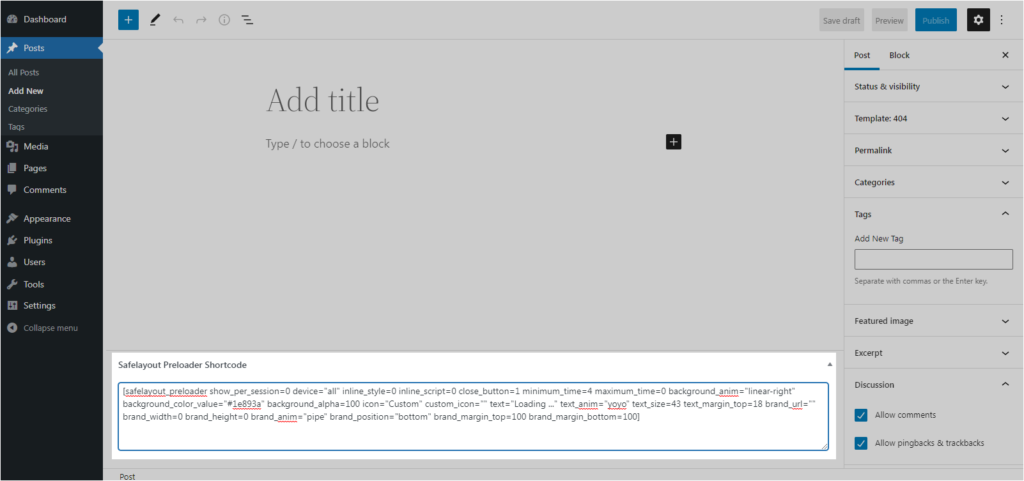
4. Go to the “Special Preloader” tab and create a preloader shortcode by clicking the “Generate preloader Shortcode” button and copy the shortcode to clipboard by clicking the “Copy to Clipboard” button.
5. Add the shortcode to your page/post. simply edit the page/post and scroll down to the “Safelayout Preloader Shortcode” section below the editor, Paste the preloader shortcode into the text area and Update the page/post.